PHOTOGRAPHY SERIES Part 2 | COMPOSITION
Whether you aspire to be a better photographer to satisfy your personal aesthetic needs or you want to improve your skills because it will help you represent your business in a more appealing way, one thing is indubitable.
Composition is the way to go.
Think of all the elements combined that make up a good or a bad photo. That’s composition.
In the first part of our Photography Series, we talked about the technical aspects that we need to understand in order to make the most of our DSLR cameras. We analyzed exposure and the ways to control it and we mastered the shooting modes of our camera.
And since we got that out of the way, we can now get creative and unleash our artistic side by purposefully arranging elements within our frames, picking the right angles and learn the rules, in order to be able to break them to create some unconventional magic.
Some people are born with an inherited talent for exquisite artistic vision. They just know what works and what does not. But even if you are not one of those people, the ability to understand the elements that work and would make up a great picture can be learned and there should be nothing holding you back from achieving visual greatness!
There are several composition techniques that you can comprehend and use when you are out and about, taking pictures. We’ll focus on the most versatile ones, simple, established rules that would work with pretty much everything. The main goal is for you to get to the point where you get the artistic epiphany. You start with the guidelines and then you simply stop thinking about it as you automatically know what to do, to enhance the impact of your photos.

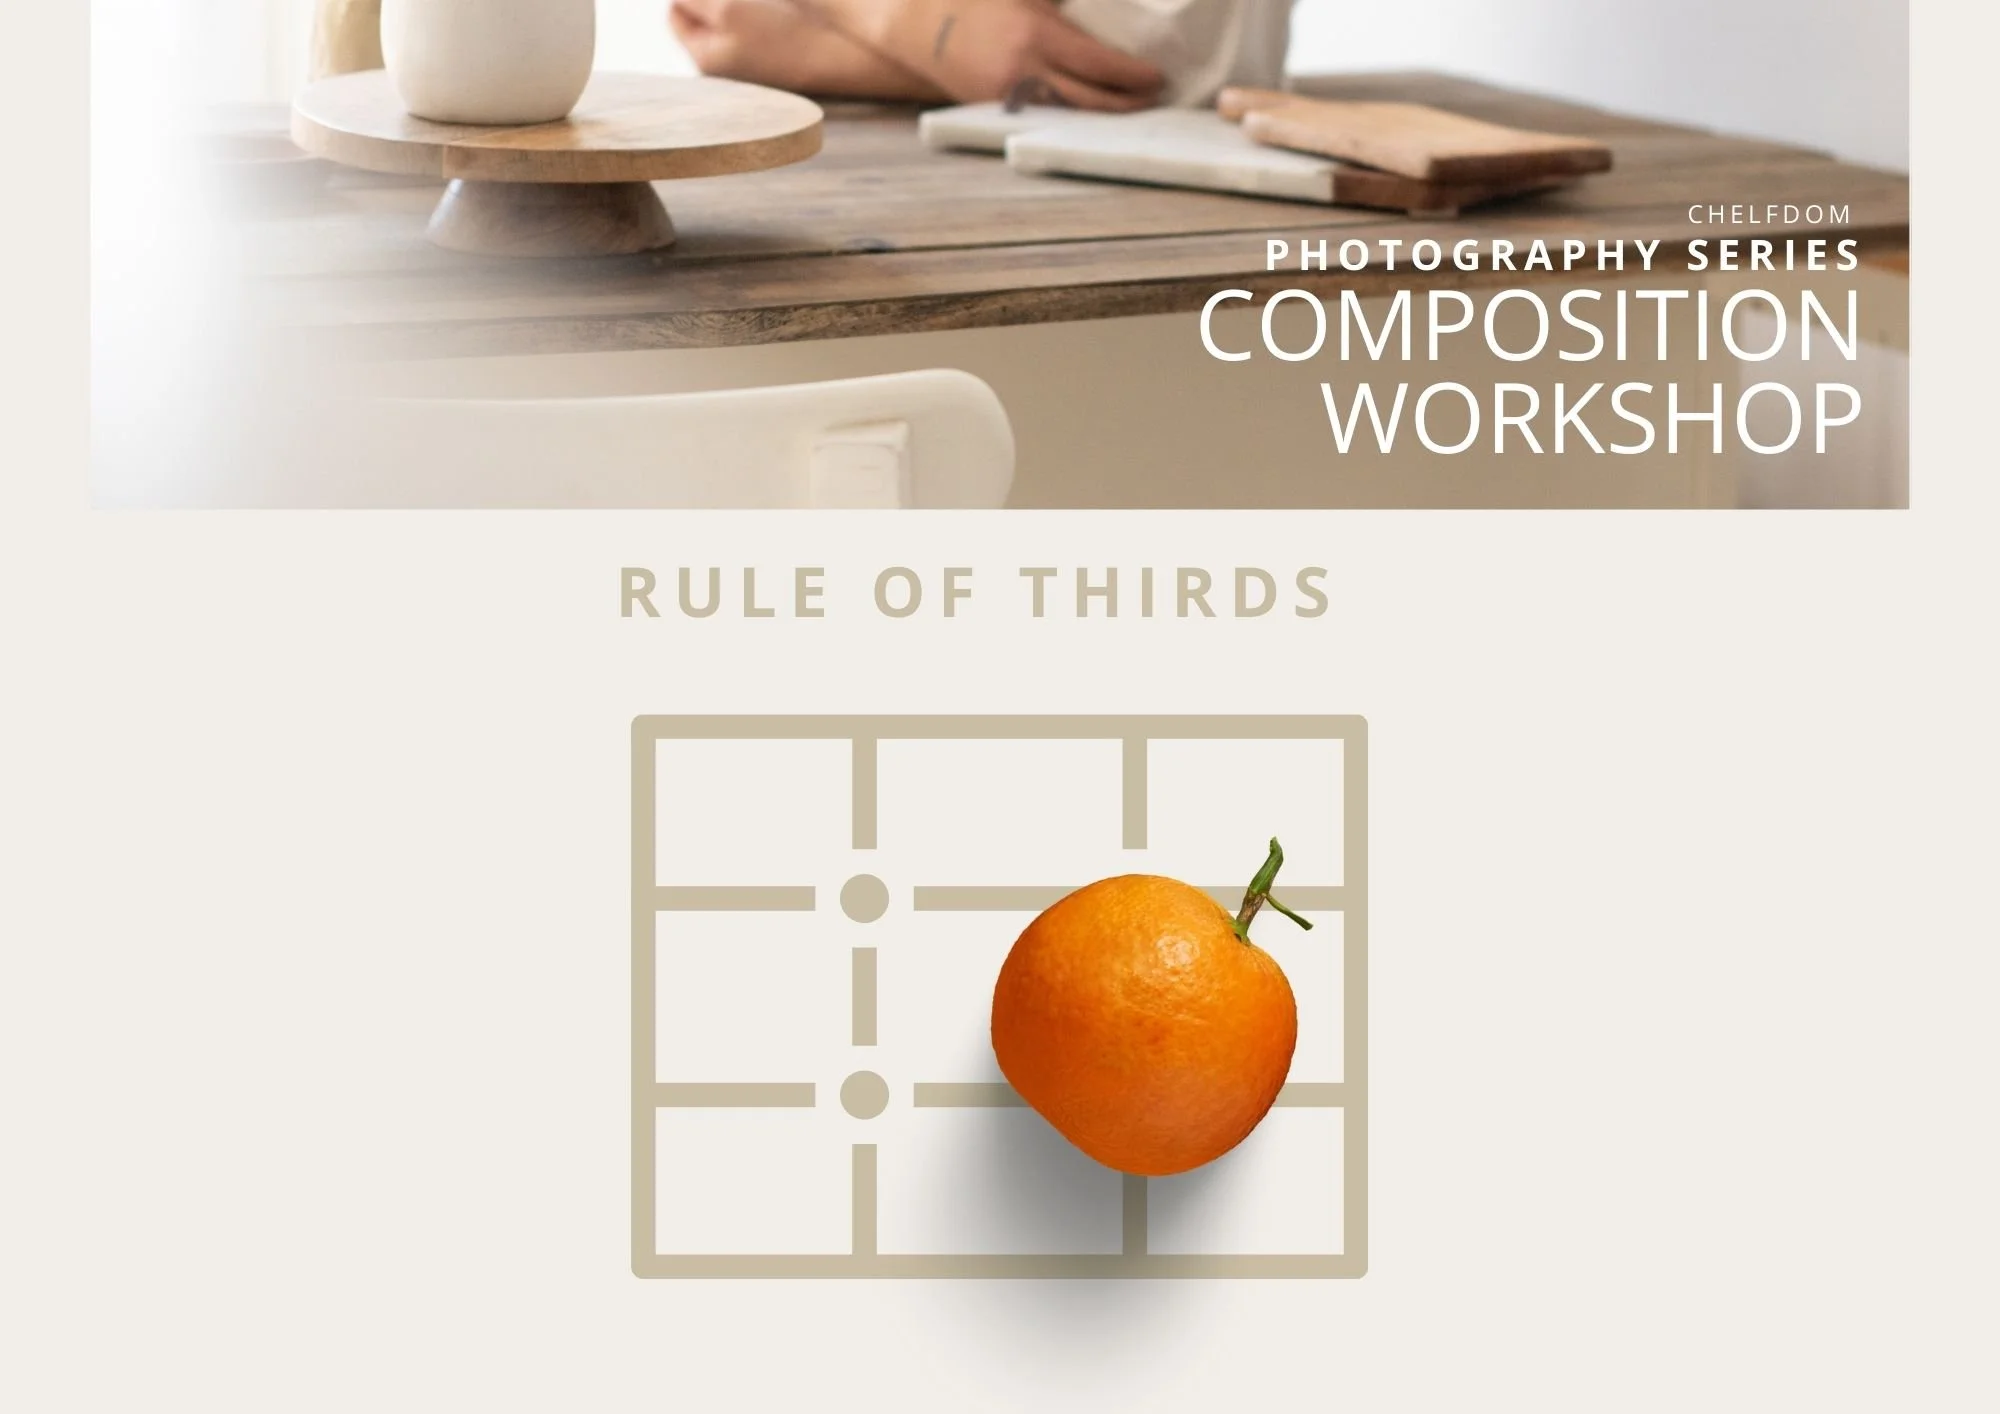
RULE OF THIRDS
The predominantly mainstream rule. The ‘basic bitch’ of the photography world.
But before you say “I’m sorry I do not speak basic”, listen: It works.
You can then add or remove elements to make it as unbasic as you want, but the rule works as hard as Melanie Griffith in “Working Girl”. Use it.
Here’s how it’s done:
You break the image down into thirds so that you end up with nine parts. Each meeting point is called a powerpoint. Place the subject on one of those points.


NEGATIVE & POSITIVE SPACE
Art, architecture, music and design: The principle remains the same.
Positive is the space occupied by your subject. Negative space is the area that surrounds the main subject and it can be as impactful as the subject itself. It’s a wonderful paradox: When the negative space takes up more of the image than the positive space, it ends up amplifying the subject while creating drama.
Use that to add feelings of loneliness, solitude, relaxation, contemplation, or even importance to an image. And this is how a picture speaks a thousand feelings.

RULE OF ODDS
At first, it may sound odd but the numbers speak for themselves.
If you are going to photograph more than one subject, use an odd number.
Three flowers instead of one. Five green bottles standing on the wall.
For some reason, it’s visually appealing as it creates the illusion of harmony.

LEADING LINES
The easiest way to create a path for the eye.
Give it a bunch of lines and the eye will always follow. Think of naturally occurring lines like trees or intentionally placed elements, like a fence or the very cliché railway to understand the concept. Use this technique to focus the viewer's attention on the main subject or to draw a connection between two objects. They're also an excellent means of creating depth and symmetry.

SYMMETRY
The controversial one
…and despite my inner OCD voice telling me to stop, I suggest that this rule is the first one to break intentionally and see what happens. But before we start breaking stuff let’s understand the rule and how it works. You can relax inner OCD voice, we are not doing anything bad. Yet.
Symmetrical balance in a photograph is achieved by arranging elements on either side of the center of a composition in an equally weighted manner. We call it the 50-50 balance or the Mirror Image Technique. I like it. It’s very satisfying. Now, let’s see what will happen if we take it to the 40-60 balance ;)
ASYMMETRY
The arrogant one
Asymmetrical balance, or informal balance as we like to call it to sound like we know stuff, is when we get a bit arrogant with our photography skills (nothing wrong with that, hey you earned it) and use the tone, size and form of subjects to create balance through asymmetrical elements that complement each other. Think of light and darkness, contrast or bright versus muted colours.

These basic principles will get you off to a good start. Remember that rules are meant to be broken but you have to know them to break them. Your instinct is a good indicator too and if a certain style or subject excites you don’t ignore the feeling. Practice a lot to see what works for you and how you can take those techniques and add your own personal touch. After all, personality and innovation are way more important than blindly following guidelines! Make it yours!
Until the next one,
Chelf